


What Is a Vertical Smoker?
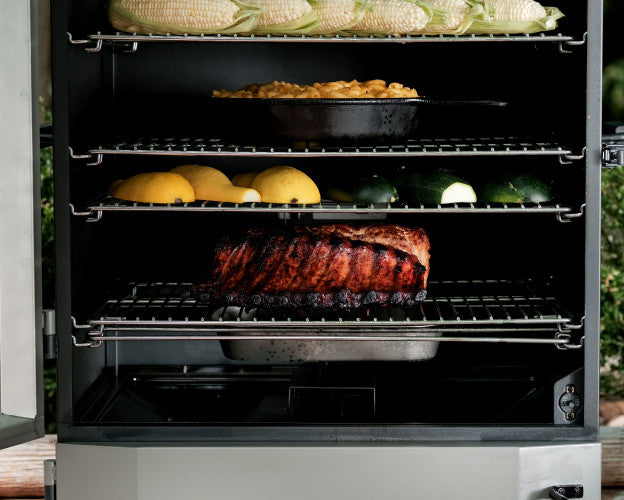
A vertical smoker is built with stacked cooking racks that allow heat and smoke to rise naturally through the cooking chamber, creating even airflow from bottom to top. This vertical design helps maintain consistent temperatures across multiple racks, making it easier to smoke several cuts of meat at once without constantly rotating food. Compared to traditional offset smokers, vertical smokers are more space-efficient, use fuel more efficiently, and require less hands-on fire management.
With a Masterbuilt electric smoker, temperature control is handled digitally, removing much of the trial and error from the smoking process. Simply set your desired temperature and the smoker works to maintain it automatically, which is ideal for long, low-and-slow cooks like ribs, brisket, and pork shoulder. This combination of efficient design and precise temperature control makes vertical smokers a great option for both beginners and experienced pitmasters looking for consistent, repeatable results.
Compared to traditional offset smokers, vertical smokers are more space-efficient, use fuel more efficiently, and require less hands-on fire management.
Setting Up and Seasoning Your Smoker
Proper setup and seasoning are essential before your first cook. Start by removing all packaging materials and installing the cooking racks, drip pan, and water bowl. Place your electric smoker on a level, stable surface in a well-ventilated area to ensure safe and consistent operation. Taking the time to set up your vertical smoker correctly helps prevent temperature issues and uneven cooking later on.
Seasoning your smoker is a critical first step that burns off any manufacturing residue and prepares the interior for food. To season, add wood chips to the tray, set the temperature to 275°F, and let the smoker run for 2–3 hours. Once finished, allow the smoker to cool completely, then wipe down the interior surfaces. After seasoning, your vertical smoker is ready for its first cook.


Temperature and Smoke Control
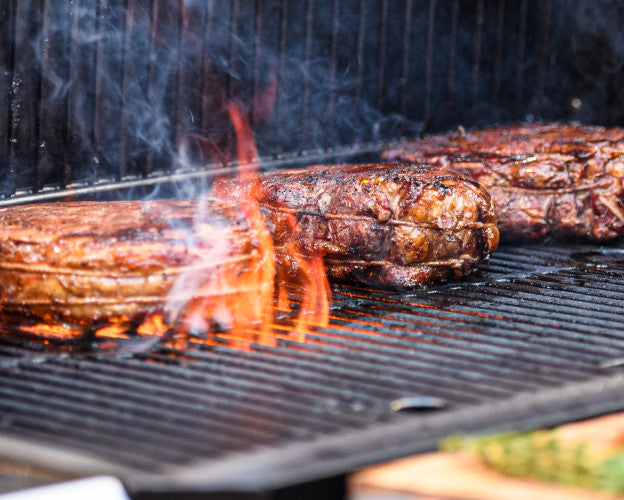
Most smoking is done between 225–250°F, which is ideal for classic low-and-slow cuts like ribs, brisket, and pork shoulder. Poultry and smaller cuts can be cooked at slightly higher temperatures, up to 275°F, for a shorter cook time while still achieving great smoke flavor. Cooking within these ranges helps break down connective tissue and keeps meat tender and juicy.
One of the key advantages of a Masterbuilt vertical smoker is precise digital temperature control, which allows the smoker to automatically maintain your set temperature throughout the cook. To build balanced smoke flavor, add wood chips at the start of the cook and continue adding them during the first few hours. After that point, the meat absorbs less smoke, so additional wood isn’t necessary and can lead to overpowering flavors.
By understanding the basics of setup, seasoning, temperature control, and smoke management, using a vertical smoker becomes simple and approachable. The efficient design and digital controls of a Masterbuilt electric smoker help deliver consistent heat and balanced smoke, making it easier to focus on the food instead of the fire. With a little practice, a vertical smoker can produce reliable, flavorful BBQ for everything from weeknight cooks to long, low-and-slow weekend sessions.


