


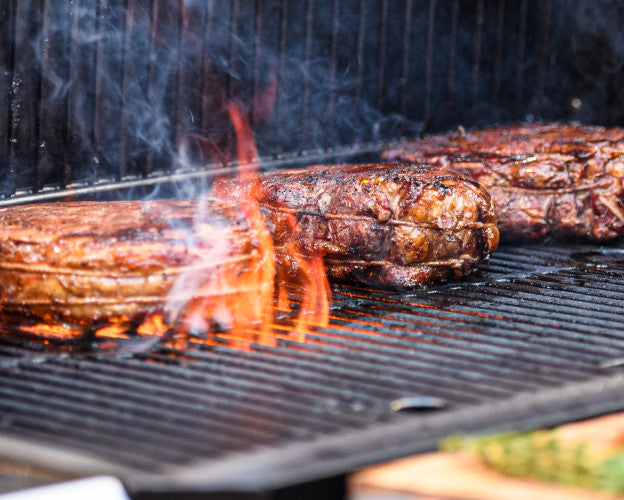


Smoking meat on a vertical smoker is one of the most beginner-friendly ways to make incredible BBQ. Unlike offset smokers that require constant fire management or complex grill setups, vertical smokers are designed to make smoking accessible—set your temperature, add wood chips, and let it run.
Here's everything you need to know to smoke meat like a pro on your vertical smoker.
Step 1: Prep Your Vertical Smoker
Before you add any meat, make sure your smoker is ready to go.
- Fill the Water Pan: The water bowl sits above the heating element and serves multiple purposes—it adds humidity to keep meat moist, stabilizes temperature, and catches drippings. Fill it about ¾ full with water (some people use apple juice or beer for extra aroma, but water works great).
- Load Wood Chips: Add wood chips to the chip tray or side loader. Use about ½ cup to start. Different woods create different flavors. Start with apple or hickory if you're new to smoking—both are forgiving and widely loved.
- Preheat the Smoker: Set your digital smoker to your target temperature and let it preheat for 15-20 minutes. For most BBQ, you'll be smoking between 225°F and 250°F. Let the temperature stabilize before adding meat.
-
- Hickory - Strong, classic BBQ (pork, beef)
- Apple - Mild, sweet (poultry, pork)
- Cherry - Fruity, mild (chicken, pork)
- Mesquite - Bold, intense (beef)
- Oak - Versatile, medium (everything)
Step 2: Prepare Your Meat
While your smoker preheats, prep your meat.
-
Pat It Dry: Use paper towels to pat the meat completely dry. Moisture on the surface prevents rubs from sticking and creates steam instead of smoke flavor.
Apply a Binder (Optional): A light coat of mustard, oil, or hot sauce helps rubs stick. Don't worry—you won't taste it in the final product. - Season Generously: Apply your rub or seasoning liberally. Don't be shy—the long cook needs bold flavor. Make sure to season all sides, including any fat cap.
- Bring to Room Temperature: Let the meat sit at room temperature for 30-60 minutes before smoking. Cold meat straight from the fridge takes longer to cook and can cause temperature drops in your smoker.
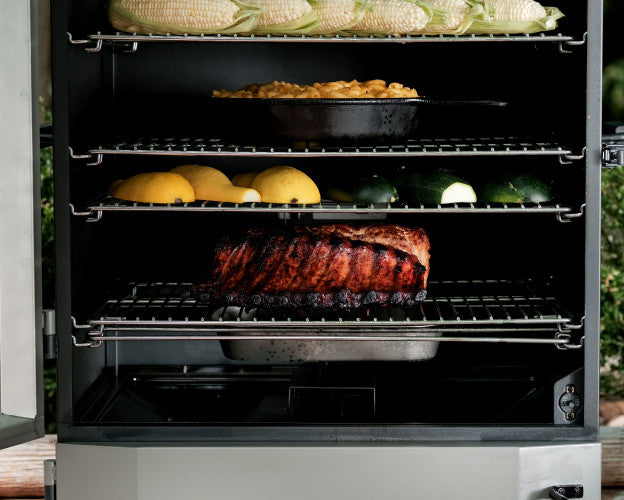
Step 3: Load the Smoker
- Arrange Meat Strategically: Place larger, heavier cuts (like brisket or pork shoulder) on lower racks. Smaller items (chicken, ribs, sausages) can go on upper racks. Leave space between pieces for smoke and heat to circulate—don't overcrowd.
- Insert Meat Probes: If your meat smoker has integrated probes, insert them into the thickest part of the meat, avoiding bones and fat pockets. This lets you monitor internal temperature without opening the door.
- Close and Forget: Once the meat is loaded and the door is closed, resist the urge to open it. Every time you peek, you lose heat and extend your cook time. Trust your thermometers.
Step 4: Manage Smoke and Temperature
- Add Wood Chips Regularly: For the first 3-4 hours, add fresh wood chips every 30-45 minutes using the side loader (if your model has one). This is when meat absorbs the most smoke flavor. After 4 hours, you can stop adding chips—the meat won't absorb much more smoke.
- Maintain Consistent Temperature: The beauty of electric smokers is that digital controls maintain your set temperature automatically. You don't need to adjust vents or manage fire. Just monitor and let it run.
- Keep the Water Pan Filled: For long cooks (8+ hours), check the water level periodically and refill if needed. An empty water pan can cause temperature spikes and dry meat.
- Avoid Opening the Door: This is the golden rule. Every time you open the door, you lose 50-75°F and it takes 10-15 minutes to recover. If you need to spritz, wrap, or check something, do it quickly and only when necessary.
Step 5: Know Your Target Temperatures
Smoking is about internal temperature, not time. Here are the targets for common BBQ cuts:
- Brisket: 203°F
- Pulled Pork / Pork Shoulder: 203°F
- Pork Ribs: 195-203°F
- Chicken Breast: 165°F
- Chicken Thighs: 175°F
- Whole Turkey: 165°F (breast)
- Pork Chops: 145°F
Large, tough cuts like brisket and pork shoulder need to reach higher temps (200-203°F) to break down connective tissue and become tender. Poultry is safe at 165°F but tastes better at 175°F for dark meat.
Always use a reliable meat thermometer. Don't guess.
Step 6: The Stall and How to Handle It
Around 150-170°F internal temperature, you'll hit "the stall." The meat's temperature plateaus or even drops slightly, and it can stay there for hours. This happens because moisture evaporating from the surface cools the meat.
How to Power Through:
- Option 1: Wait it out. The stall eventually breaks and temp starts climbing again. This is the traditional method and gives you the best bark.
-
Option 2: Wrap it (Texas Crutch). Around 165°F internal, wrap the meat tightly in foil or butcher paper. This speeds up the cook, keeps meat moist, and pushes through the stall faster. You'll sacrifice some bark crispness but gain tenderness and time.
Most pitmasters wrap brisket and pork shoulder, but it's personal preference.
Step 7: Rest Your Meat
Once your meat hits target temperature, don't slice it immediately. Resting is critical.
Why Resting Matters: Resting allows juices to redistribute throughout the meat. If you cut immediately, all that moisture runs out onto the cutting board instead of staying in the meat.
How Long to Rest:
- Large cuts (brisket, pork shoulder): 30-60 minutes, wrapped in foil or a towel
- Ribs: 10-15 minutes, loosely tented with foil
- Chicken: 10 minutes
Resting doesn't mean the meat gets cold—it stays hot for a long time, especially when wrapped.
Step 8: Slice and Serve
- Slice Against the Grain: For brisket, pork shoulder, and other muscle cuts, always slice against the grain (perpendicular to the muscle fibers). This shortens the fibers and makes the meat more tender. Slicing with the grain makes even perfectly cooked meat tough and chewy.
- Serve Immediately: Smoked meat is best served fresh. The bark is crispiest, the meat is hottest, and the flavors are at their peak right after resting.
Common Smoking Mistakes to Avoid
- Opening the Door Too Often: "If you're looking, you ain't cooking." Every peek costs you time and temperature.
- Not Using Enough Seasoning: Smoke alone doesn't carry flavor—your rub does. Season boldly.
- Cooking to Time Instead of Temperature: A 10-lb brisket might take 10 hours or 14 hours depending on the meat and conditions. Always cook to internal temp, not a timer.
- Over-Smoking: More smoke isn't always better. Too much creates bitter, acrid flavors. Thin blue smoke is ideal—thick white smoke is bad.
- Skipping the Rest: Don't rush this step. Resting is what makes good meat great.
Master Your Vertical Smoker
Smoking meat on a vertical smoker is straightforward once you understand the basics: prep your smoker, season your meat, maintain steady temps, add smoke in the first few hours, cook to internal temperature, and rest before serving.
The beauty of vertical smokers—especially Masterbuilt electric smokers—is that they handle temperature control automatically. You set it, monitor it remotely if your model has WiFi, and let the smoker do the work.
Start with something forgiving like chicken thighs or pork ribs. Once you've nailed the basics, move on to brisket and pork shoulder. The process is the same—just longer.
Ready to master smoking? Explore Masterbuilt's electric smokers and start making BBQ you'll be proud of.


